Tour

Create a project
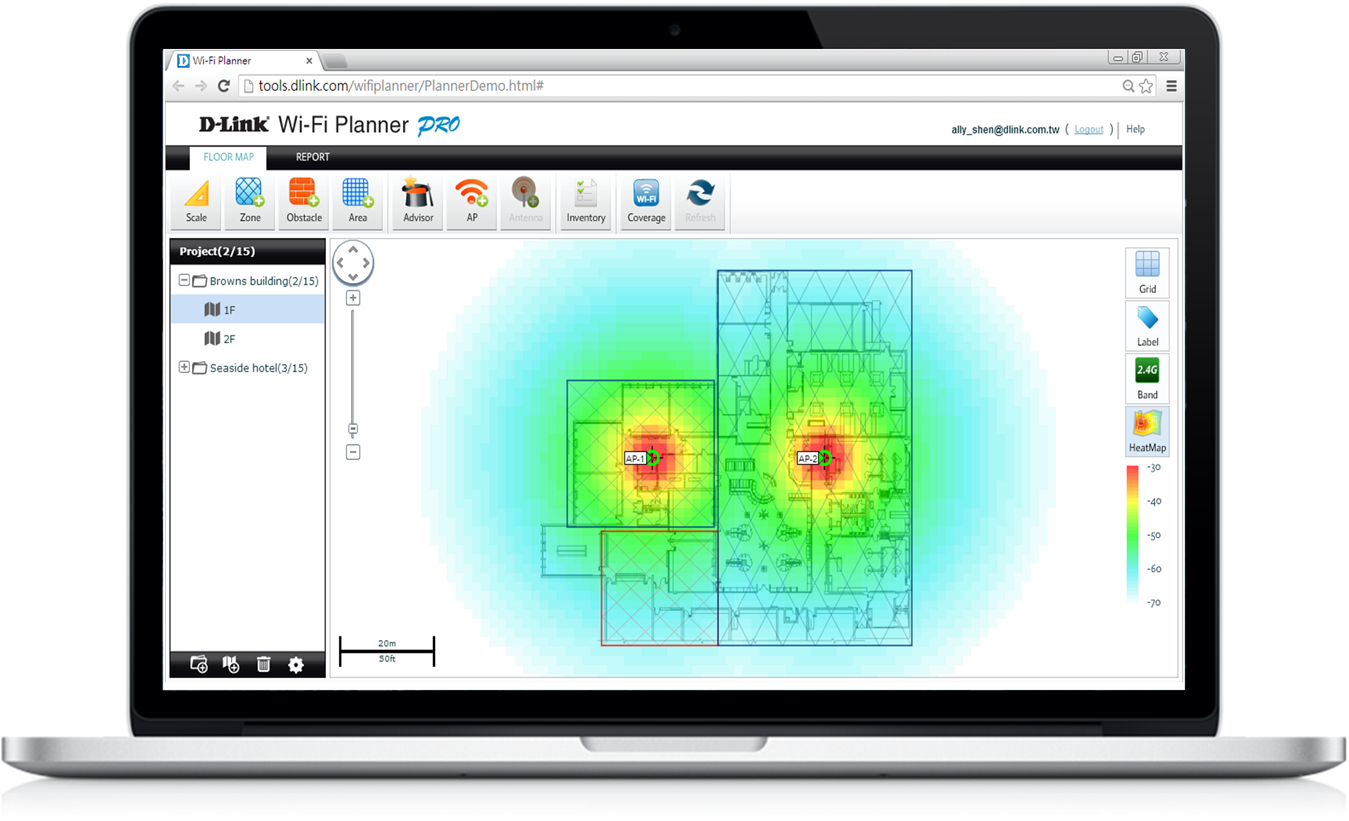
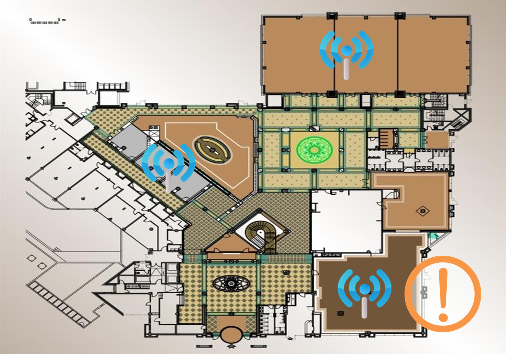
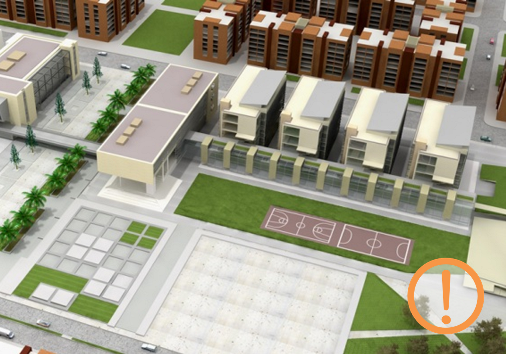
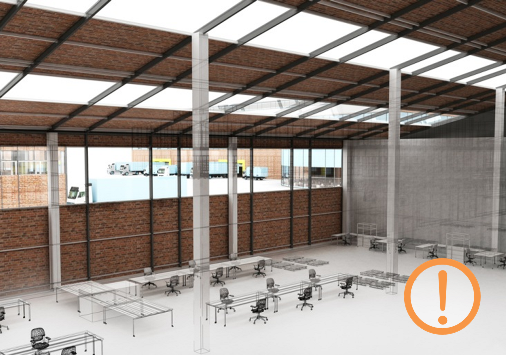
The first thing you need to do is creating a project folder. Next, upload an image of the floor plan for your Wi-Fi project . The floor plan can be provided by customers or drawn by you.
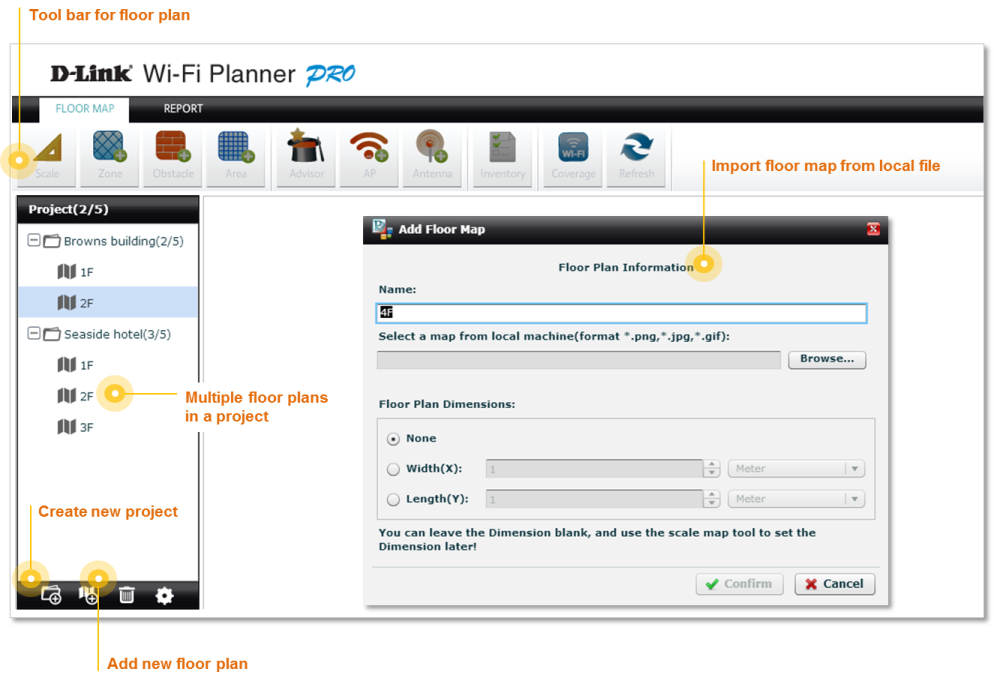

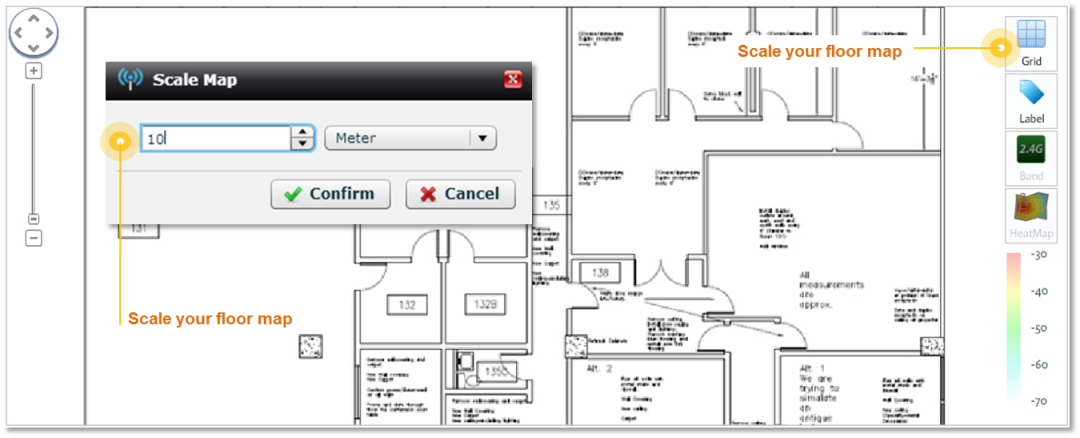
Then "scale" the floor map to produce an estimate of the measure of the floor plan.


Define Zones, Obstacles & Areas
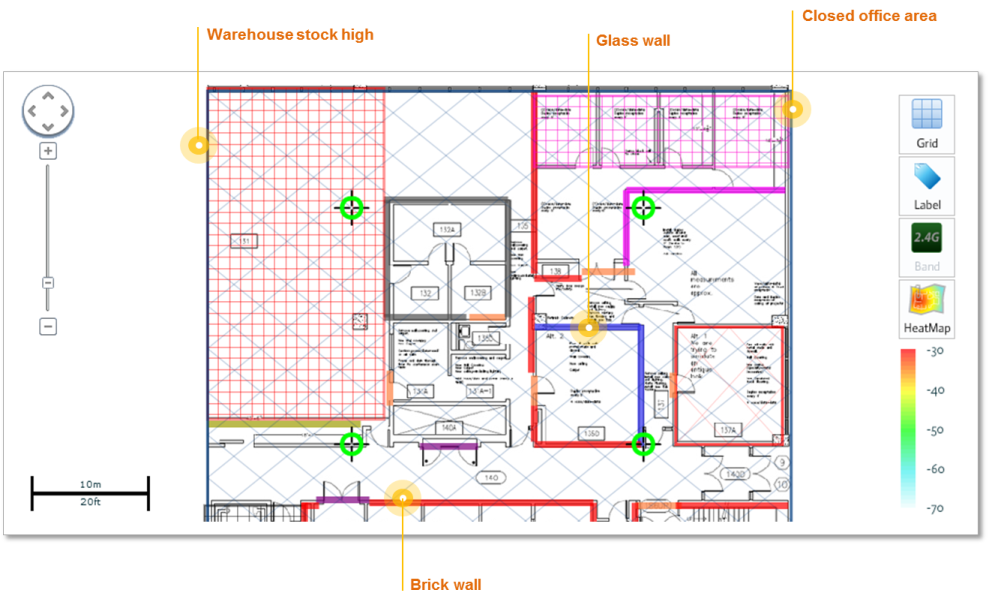
Next, define the Wi-Fi coverage zone and access point exclusion zone. Mark obstacles such as walls or doors, and indicate special zones, such as closed office space or warehouse. This will help WFP produce a more accurate simulation.

Zone Type

Obstacle Type
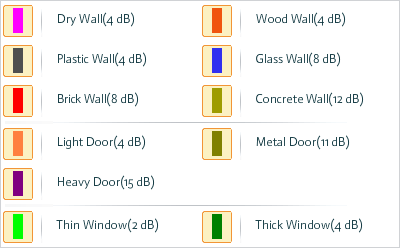
Area Type


Place Access Points by Advisor
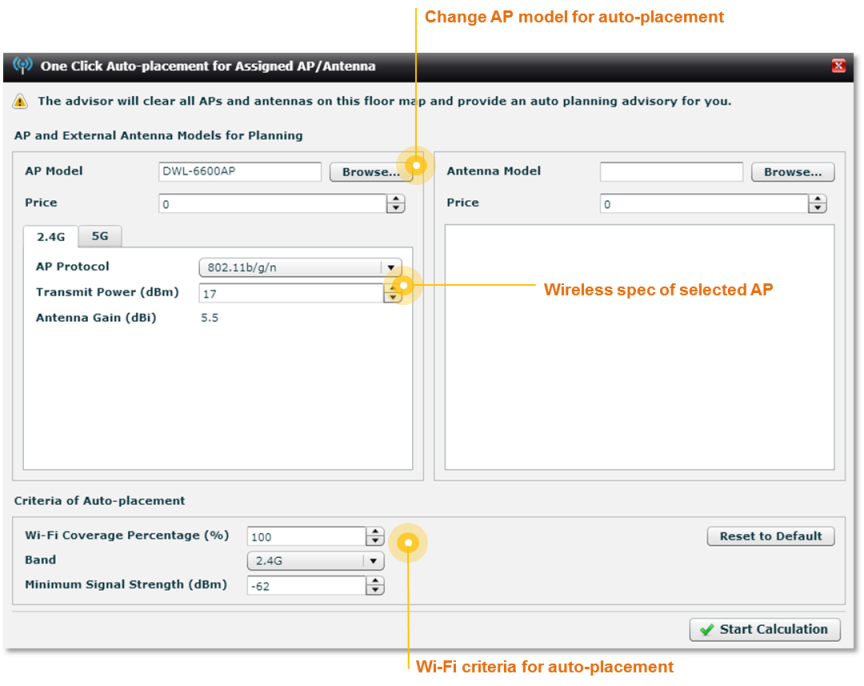
After all the conditions are set, the built-in AP Placement
Advisor will provide a suggestion on the number of AP and the AP placement that are needed for the Wi-Fi planning.


Review Deployment & Heat Map
Once the calculation is done, you will see the number and placement of APs, as well as the APs information and heat map that shows the simulation of the Wi-Fi coverage.


Make Adjustments As Needed
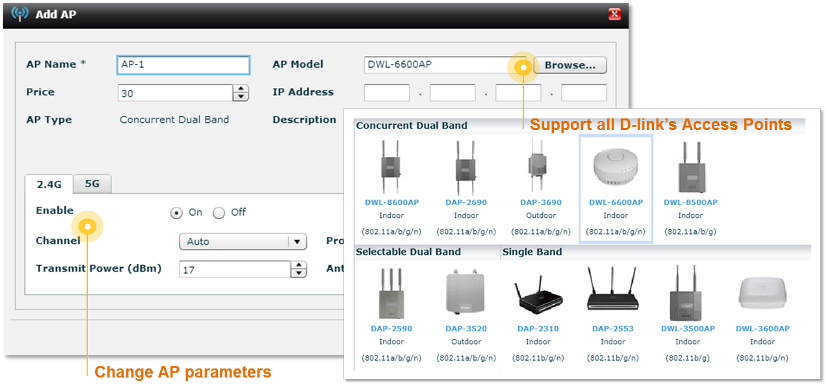
Change to Different Model
If the result suggested by the Advisor is not satisfactory, just click on any AP on the floor map to change another to
D-Link model. You may adjust its parameters if needed.

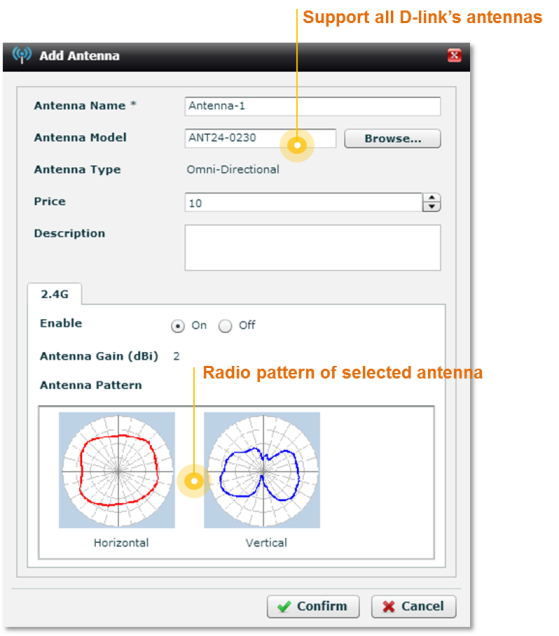
Add External Antenna
You can aslo add an external antenna for particular APs on the floor plan. The system will bring up antenna information before actually modifying any settings.
Other Changes You Can Do...
You can also re-position the APs by dragging it, delete APs, or add new ones to create a deployment that better suits your need.

Generate Report
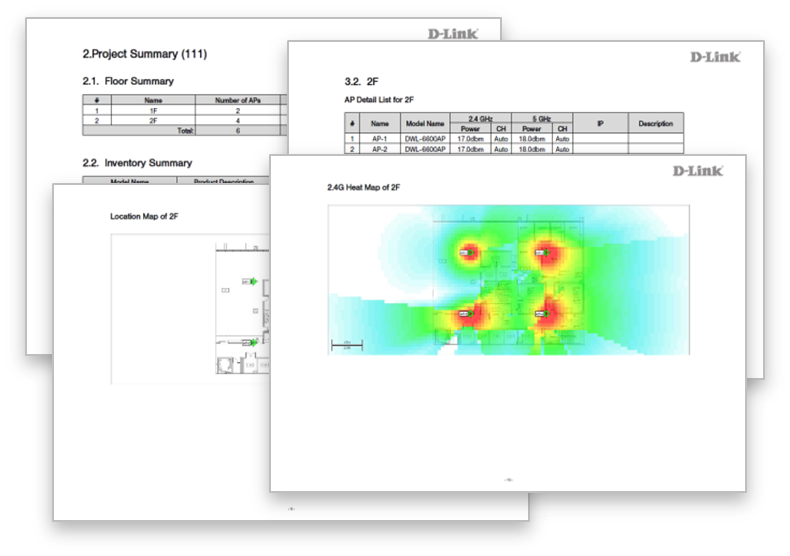
WFP can provides reports in two formats : PDF and Word files. Key items included in the report are:
.AP inventory list
.AP details
.AP location map
.Wi-Fi heat map

